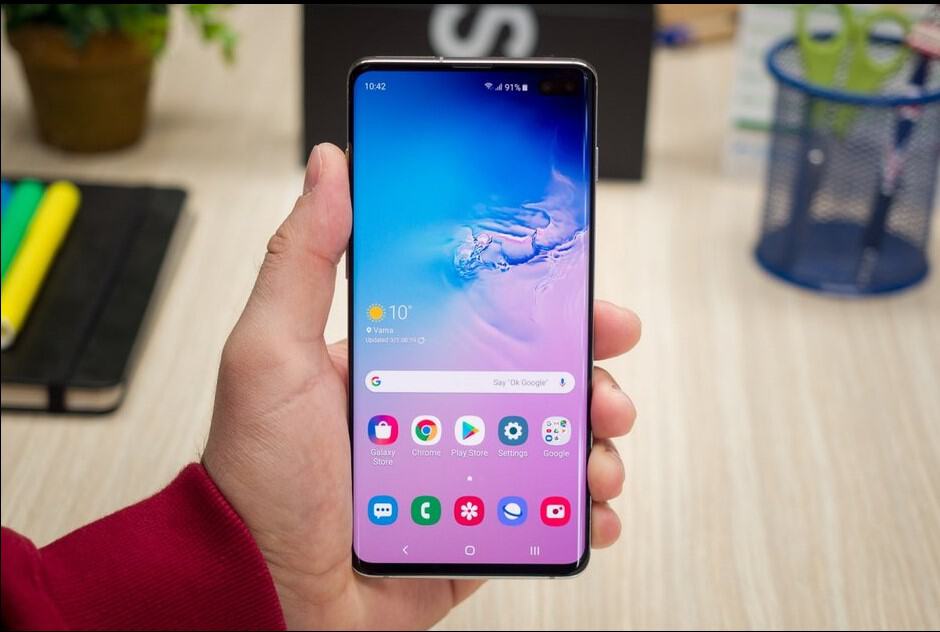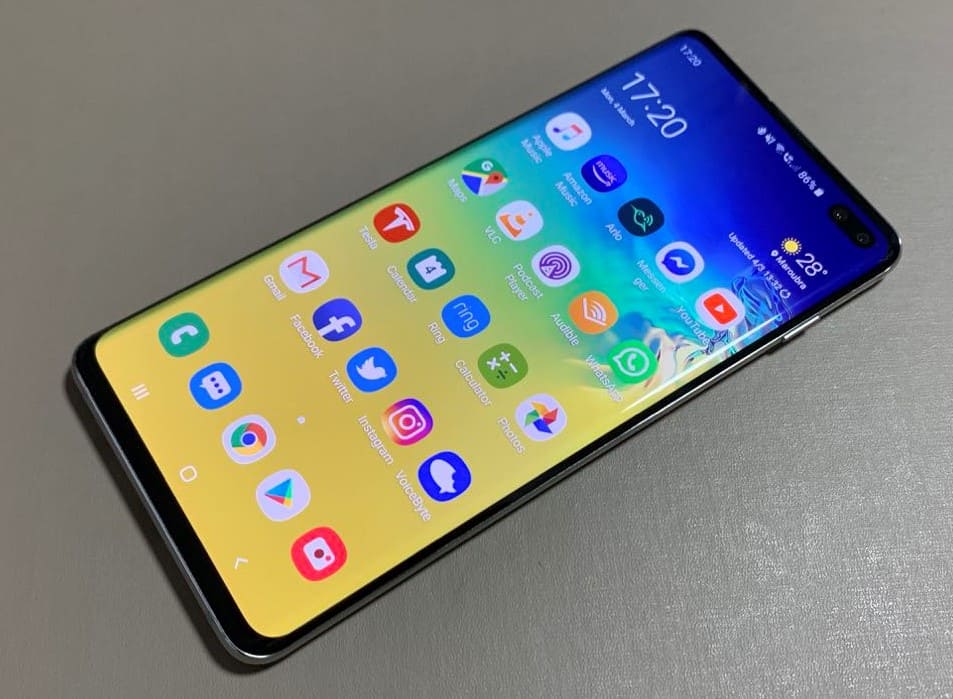
The Samsung Galaxy S10 smartphone is an impressive feat of engineering, and Samsung played all their cards in delivering a state-of-the-art product, which met the expectations of consumers and Samsung fans world wide. However, just like the first revolutionary iPhone and all the phones that are yet to be released, the S10 is not indestructible. The front screen is made of what’s commonly known as Gorilla Glass, which is designed to be scratch-proof and shatter resistant.
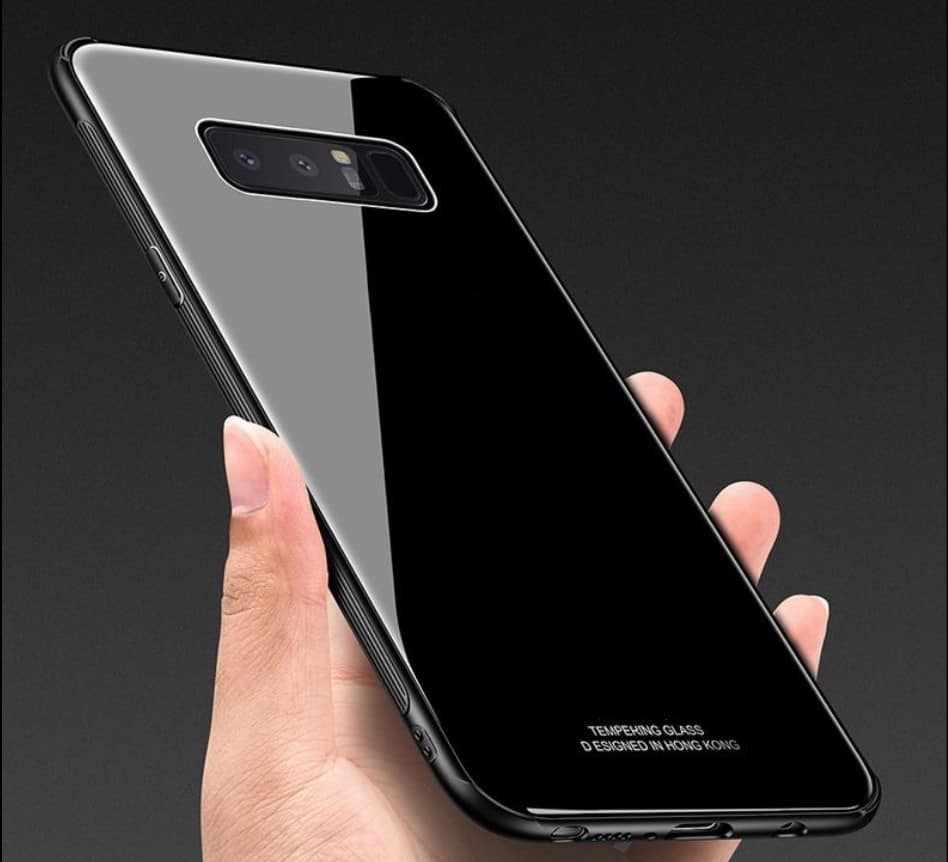
Smart phones have gotten a bit more durable over the years, but I’m sure as most of you know, even the best flagship models fall victim to slippery fingers. The back glass on the Galaxy S10 can be prone to breaking, and in this short guide we will explain the best method to get the glass peeled up and replaced.
Samsung Galaxy S10 Back Glass Panel Repairs
Heat the rear glass to a temperature between 60 and 75 degrees Celsius using either a heat-gun, hair-dryer, or a heat-mat. If you’re not using a heat-mat, make sure you keep your heating element in motion as to not burn any components accidentally. Once heated, use a razor-blade or a pry tool (such as an isesamo) to get underneath the glass and the adhesive holding it in place at about a 30 degree angle and gently lift it.

Once you have a little bit of a gap, begin to slowly work your way around the outside of the back glass. Since the S10 models no longer have a fingerprint scanner on the back, you won’t need to worry about any weird cables like you’ve had to in the previous models. Take your time and do not try to rush the repair.
Reapply heat as necessary. The bottom part of the glass near the loud speaker is going to be a bit more difficult, as there is extra adhesive that goes extra deep in that area. I recommend using a plastic playing card or something similar to reach that extra depth.
Screen Fixed Offer 30 Minute Samsung S10 Galaxy Rear Glass Repair
Once you have the old back glass removed it is time to clean the back frame to get it ready for the new glass. We here at Screen Fixed recommend using Falcon 530 contact cleaner in combination with a short thick paintbrush to remove any dust and the old adhesive.
Using a dry cloth, make sure there are no tiny shards of glass left behind either. Once you have removed any dust and the old adhesive, it’s time to put the new glass on. If you’re using an OEM part, the adhesive it comes with is very high quality and good enough. If it’s an aftermarket part, I highly recommend replacing the adhesive it comes with with whatever you prefer to use, sometimes even a high strength super glue instead. Transfer the old camera glass over to the new back glass if necessary, and slowly lower the new glass into position onto the frame. Once you have the glass on correctly, heat the back up again in order to loosen the new adhesive.

Once appropriately hot (just barely too hot to touch for more than a second) clamp the glass in order to guarantee a long term fit (if you have nothing to clamp it with, use a heavy book or something similar). Once you have left it clamped for an hour or two, you should be ready to go with your fresh looking S10!
We hope this article helped, and if you wish to have your S10 rear glass repaired by a professional just contact us at [email protected].


